Game mode · Team PvP
BedWars
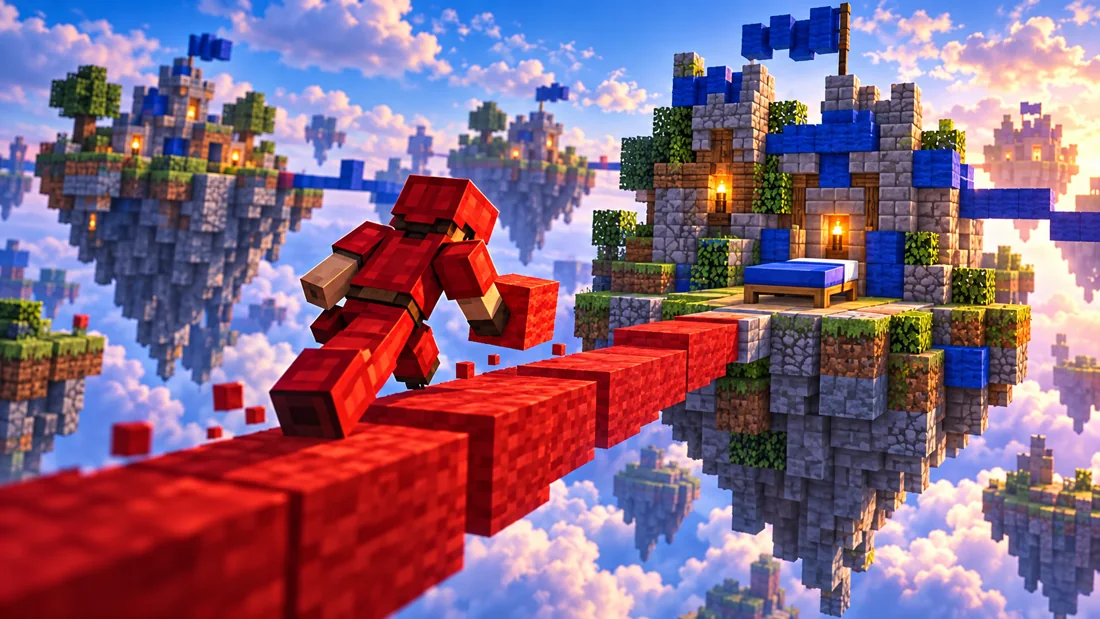
Defend your bed, attack enemy islands and be the last team standing.
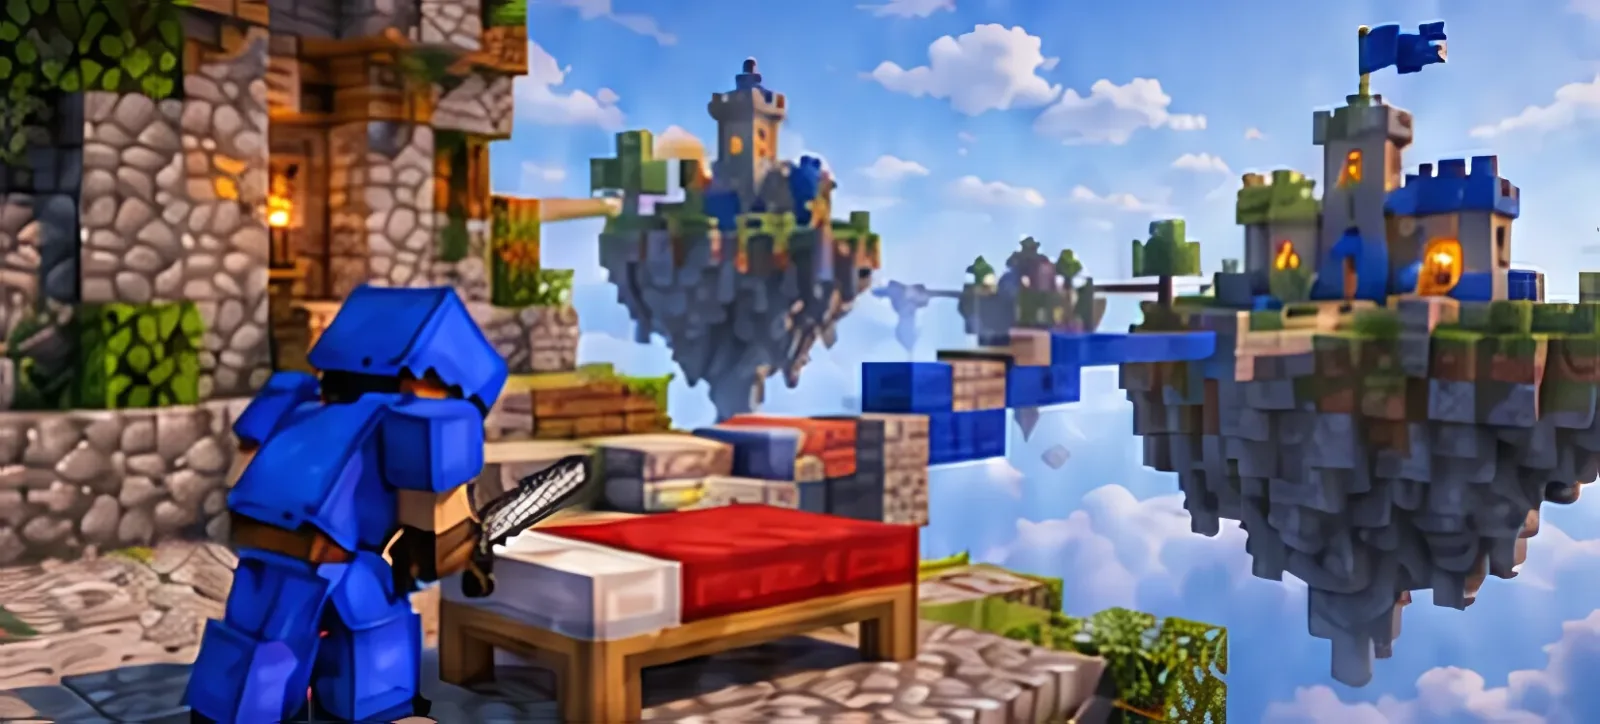
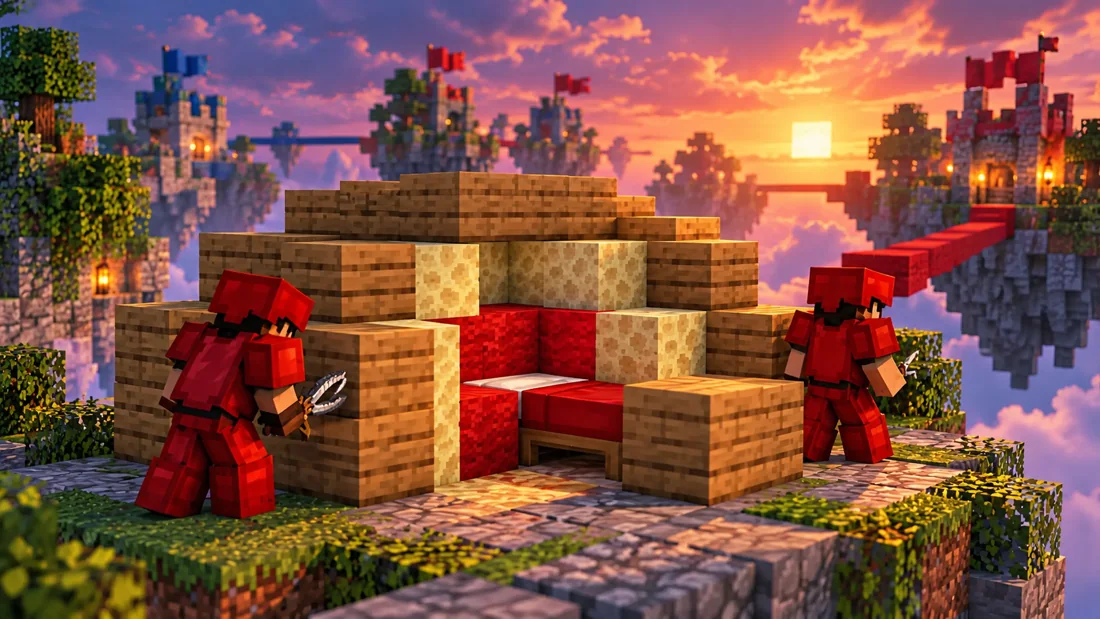
Collect resources, buy gear and build paths to the other islands. As long as your bed stands, you come back after every death.
How a round works
- Collect resources
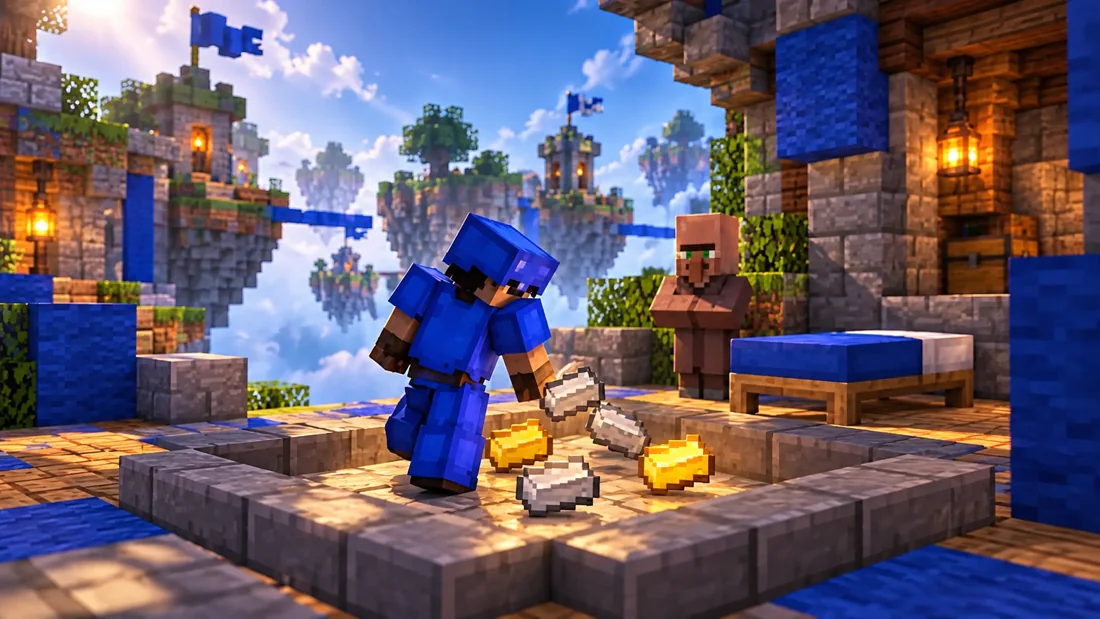
Collect iron and gold at your island's generator and buy blocks, tools and gear from the shopkeeper.
- Protect your bed
Cover your bed with wool right at the start and reinforce it later with end stone, wood or obsidian.
- Attack other teams
Build bridges, get diamonds and emeralds and destroy the beds of the enemy teams.
- Decide the round
Without a bed, players can't respawn. The last team standing wins.
Your bed decides
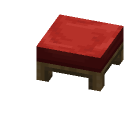
After a death you are back on your island in 5 seconds.
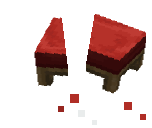
You keep playing, but you have no extra life. Your next death knocks you out.
A destroyed bed is not the end of the round. At 30:00 all beds disappear anyway.
What gear do you need?
| Gear | What for? | Tip |
|---|---|---|
 Blocks | Bridges and bed defense | Always carry a stack — 16 wool cost 4 iron. |
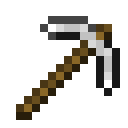 Tools | Break enemy defenses | You keep your pickaxe and axe after a death. |
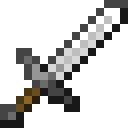 Weapons | Fights on islands and bridges | Bought swords are lost on death — Sharpened Swords works for the whole team. |
 Armor | Survive more hits | Bought armor keeps its tier after a death. |
Tips for your first rounds
- Make a plan with your team.
Decide who defends, who gathers and who attacks.
- Never leave your bed open.
An open base is an easy target — even while you are attacking.
- Spend resources before you attack.
Whoever kills you gets all your iron, gold, diamonds and emeralds.
Every rule in detail
The complete guide — every number exactly as set on our servers.
At a glance
- Goal: defend your bed, destroy the other beds and be the last team left.
- Sizes: Solo, Doubles, 4v4v4v4 and 4v4 – 8 to 16 players per game.
- Length: usually 15 to 30 minutes; after 46 minutes at the latest it is over.
- How to join: in the lobby via the navigator or with /play, then pick BedWars and a size.
- After a game: /nochmal takes you straight into the next game of the same size.
The four sizes
| Size | Teams | Players per team | Good for |
|---|---|---|---|
| Solo (8x1) | 8 | 1 | quick games, everyone for themselves |
| Doubles (4x2) | 4 | 2 | playing with a friend |
| 4v4v4v4 | 4 | 4 | the classic with full teams |
| 4v4 | 2 | 4 | a head-to-head between two teams |
In Solo, Doubles and 4v4 the shop is cheaper than in the classic – see the shop section below.
How a game works
- Waiting lobby: the countdown takes 45 to 90 seconds and gets shorter the fuller the game is. Bots fill any free slots.
- Map choice: from VIP upwards you choose the map in the waiting lobby – with the button on the far left of your hotbar. The last choice applies immediately.
- Start: every team spawns on its island. There you find your bed, the iron and gold generator, the item shop and the team upgrade shop.
- Early game: collect iron, buy wool, cover your bed and lay your first bridges.
- Mid game: fetch diamonds from the diamond islands (for team upgrades), emeralds from the middle (for the strongest items) and attack enemy beds.
- Late game: after 30 minutes all beds disappear, after 36 minutes the Ender Dragons arrive. The last team with players alive wins.
Bed, death and final kills
- If you die while your bed still stands, you are back on your island after 5 seconds.
- Once your bed is destroyed, every death is final – a final kill. You then watch as a spectator.
- Whoever kills you gets all your iron, gold, diamonds and emeralds. If someone knocks you into the void, the kill still counts for them for 10 seconds after their last hit.
- What you keep: bought armor, your pickaxe and axe at their tier (they do not get worse when you die) and your shears. On top of that you get a wooden sword and leather armor in your team color every time.
- What you lose: bought swords, blocks, bows, potions and everything else in your inventory.
- You destroy an enemy bed by breaking it. You cannot break your own bed.
Resources and generators
| Resource | Where | Rate | Max on the generator | Used for |
|---|---|---|---|---|
| Iron | your base generator | 2 every 2 seconds | 48 | blocks, swords, tools, utility |
| Gold | your base generator | 1 every 8 seconds | 8 | better weapons, armor, bows, TNT |
| Diamond | diamond islands | 1 every 30 / 23 / 12 seconds (tier I / II / III) | 4 / 6 / 8 | team upgrades and traps |
| Emerald | middle of the map | 1 every 65 / 40 / 25 seconds (tier I / II / III) | 2 / 3 / 4 | diamond sword, diamond armor, ender pearls, potions |
- Teammates standing within 2.5 blocks of your generator get the resources directly – two of you collect just as fast.
- The Forge team upgrade makes your base generator faster; from the Emerald Forge on it even drops emeralds.
- A full generator stops producing until someone collects. Don't leave diamonds and emeralds lying around for long.
The timeline
| Time | Event | What happens |
|---|---|---|
| 6:00 | Diamond II | diamond generators get faster |
| 12:00 | Emerald II | emerald generators get faster |
| 18:00 | Diamond III | diamond generators at full speed |
| 24:00 | Emerald III | emerald generators at full speed |
| 30:00 | Bed destruction | all beds disappear – from now on every death is final |
| 36:00 | Sudden Death | an Ender Dragon appears above the middle for every team, two with Dragon Buff |
| 46:00 | Game end | whoever is still alive ends in a draw |
What comes next and when is always shown on the scoreboard on the right. Below it you see every team: ✔ means the bed still stands; a number means the bed is gone and that many players are still alive; ✘ means the team is out.
The item shop
Open the shop at the shopkeeper on your island. The first page holds the most important items for quick buying, behind it everything is sorted by category. The prices below apply to the classic 4v4v4v4 – in the other sizes it is cheaper:
| Size | Blocks | everything else |
|---|---|---|
| 4v4v4v4 | normal price | normal price |
| Doubles and 4v4 | 25 % cheaper | 10 % cheaper |
| Solo | 50 % cheaper | 20 % cheaper |
Prices are rounded to whole pieces and nothing costs less than 1. The shop shows the discount right next to the price.
Blocks
| Item | Amount | Price | Used for |
|---|---|---|---|
| Wool | 16 | 4 iron | bridging; placed in your team color |
| Hardened Clay | 16 | 12 iron | basic bed defense |
| Blast-Proof Glass | 4 | 12 iron | survives TNT and fireballs |
| End Stone | 12 | 24 iron | solid bed defense |
| Ladder | 8 | 4 iron | climbing walls, getting back from the void |
| Oak Wood | 16 | 4 gold | bed defense, quick to break with an axe |
| Obsidian | 4 | 4 emeralds | the toughest bed defense |
Melee
| Item | Price | Note |
|---|---|---|
| Stone Sword | 10 iron | replaces your wooden sword |
| Iron Sword | 7 gold | much more damage |
| Diamond Sword | 4 emeralds | the strongest sword |
| Stick (Knockback I) | 5 gold | knocks enemies off bridges |
Armor (permanent)
| Item | Price | Note |
|---|---|---|
| Chainmail Armor | 40 iron | leggings and boots for the whole game |
| Iron Armor | 12 gold | leggings and boots for the whole game |
| Diamond Armor | 6 emeralds | leggings and boots for the whole game |
You keep bought armor after dying. Helmet and chestplate stay leather in your team color.
Tools (permanent)
| Item | Price | Note |
|---|---|---|
| Shears | 20 iron | cut through wool in no time |
| Wooden Pickaxe (Efficiency I) | 10 iron | tier 1 |
| Iron Pickaxe (Efficiency II) | 10 iron | tier 2 |
| Golden Pickaxe (Efficiency III) | 3 gold | tier 3 |
| Diamond Pickaxe (Efficiency III) | 6 gold | tier 4, for end stone and obsidian |
| Wooden Axe (Efficiency I) | 10 iron | tier 1 |
| Stone Axe (Efficiency I) | 10 iron | tier 2 |
| Iron Axe (Efficiency II) | 3 gold | tier 3 |
| Diamond Axe (Efficiency III) | 6 gold | tier 4, for wood |
You buy pickaxe and axe tier by tier in the same slot. You keep them at their tier when you die.
Ranged
| Item | Price | Note |
|---|---|---|
| 6 Arrows | 2 gold | ammo for your bow |
| Bow | 12 gold | no enchantment |
| Bow (Power I) | 20 gold | more damage |
| Bow (Power I, Punch I) | 6 emeralds | more damage and knockback |
Potions
| Item | Price | Effect |
|---|---|---|
| Speed II Potion | 1 emerald | 45 seconds faster |
| Jump Boost V Potion | 1 emerald | 45 seconds of very high jumps |
| Invisibility Potion | 2 emeralds | 30 seconds invisible |
Utility
| Item | Price | Effect |
|---|---|---|
| Golden Apple | 3 gold | heals and gives extra hearts |
| Bedbug | 40 iron | snowball – where it lands, a silverfish spawns to distract enemies |
| Dream Defender | 120 iron | an iron golem that defends your base |
| Fireball | 40 iron | right-click to throw; knocks enemies off thin bridges |
| TNT | 4 gold | ignites instantly when placed and explodes after 3 seconds |
| Ender Pearl | 4 emeralds | the fastest way into an enemy base |
| Water Bucket | 3 gold | slows attackers down and protects against TNT |
| Bridge Egg | 1 emerald | builds a bridge behind it while flying |
| Magic Milk | 4 gold | for 30 seconds you don't trigger enemy traps |
| Sponge | 3 gold | soaks up water |
| Compact Pop-up Tower | 24 iron | instantly builds a small tower out of your team wool |
Team upgrades
Buy upgrades at the second shopkeeper on your island. You pay with diamonds, and every upgrade applies to the whole team until the end of the game.
| Upgrade | Tiers and price | Effect |
|---|---|---|
| Sharpened Swords | 8 diamonds | Sharpness I on all of your team's swords |
| Reinforced Armor | I: 5 · II: 10 · III: 20 · IV: 30 diamonds | Protection I to IV on your team's armor |
| Maniac Miner | I: 4 · II: 6 diamonds | Haste I or II – you break blocks faster |
| Forge | I: 4 · II: 8 · III: 12 · IV: 16 diamonds | base generator +50 % (Iron Forge), +100 % (Golden Forge), plus emeralds (Emerald Forge), +200 % (Molten Forge) |
| Heal Pool | 3 diamonds | Regeneration I for everyone in your base |
| Dragon Buff | 5 diamonds | a second dragon flies for you in Sudden Death |
Traps
Traps are also bought at the upgrade shopkeeper. They go off as soon as an enemy enters your base – but only while your bed still stands. Up to three traps wait in a queue and go off one after the other, at least 30 seconds apart. The first trap in the queue costs 1 diamond, the second 2, the third 4.
| Trap | Effect |
|---|---|
| It's a trap! | the intruder is blinded and slowed for 8 seconds |
| Counter-Offensive Trap | everyone on your team inside the base gets Speed II and Jump Boost II for 15 seconds |
| Alarm Trap | reveals invisible intruders and tells your whole team who has come in |
| Miner Fatigue Trap | the intruder breaks blocks more slowly for 10 seconds |
When a trap goes off, you see a big "TRAP TRIGGERED!". Enemies who drank Magic Milk don't trigger traps for 30 seconds.
Building: what works and what doesn't
- You can only break blocks that players placed – the map itself stays intact.
- You can't place anything around the spawn points (6 blocks), the base generators (4 blocks) or the diamond and emerald generators (5 blocks).
- There is a build height limit upwards and downwards, depending on the map. Beyond it you see "You can't place blocks here".
- Explosions from TNT, fireballs and dragons only destroy placed blocks. Blast-proof glass and beds survive every explosion.
- TNT and fireballs launch players – you can use that on purpose to get far ahead.
Chat
What you type normally is read only by your team. With /shout <text> or a ! in front of your message you write to everyone – at most once every 30 seconds.
Tips for beginners
- Right after the start: buy wool and cover your bed all around. Upgrade later with end stone or wood, and with obsidian in the late game.
- Buy shears and a pickaxe early – with tools you get through any bed defense quickly.
- Put your first diamonds into Sharpness or armor. A team with upgrades wins almost every fight in the middle.
- Spend your resources before you attack: whoever kills you gets everything you carry.
- Don't build your bridges too thin. An enemy with a stick or a fireball will knock you into the void with a single hit.
- Keep an eye on the scoreboard: it shows which beds are still standing and when the next event comes.
- In teams, one player stays near the bed as long as other teams still have theirs.
- Don't stand still after destroying a bed: those players are out on their next death – now every kill counts.
Rewards and stats
Every game earns you experience for your network level and coins for the lobby and the shop – even when you lose.
| For | Experience |
|---|---|
| Taking part | 20 |
| Win | +60 |
| Kill | +5 |
| Final kill | +12 |
| Destroyed bed | +20 |
In BedWars every experience point turns into 0.6 coins, credited in the lobby. A coin booster doubles that, and ranks add a bonus. At the end of every game you see your numbers in chat. Your stats – wins, kills, final kills, deaths and beds, split by size – are shown by /stats bw anywhere on the network, plus the leaderboard on the website. Bots earn experience but never appear on a leaderboard.
Commands
| Command | What it does |
|---|---|
| /shout <text> | write to everyone (or put ! in front of your message) |
| /werte [player] | the stats of this game |
| /nochmal | straight into the next game of the same size |
| /replay | your recordings: play, pause, speed, skip |
| /stats bw [size] [player] | your BedWars stats with your leaderboard place – size: solo, doubles, fours or 4v4 |
| /stats bw #1 | who is in first place in BedWars |
Questions, tactics or feedback? Post them below.
Frequently asked questions
What happens when our bed is destroyed?
You keep playing. Whoever dies after that is out of the round — that is a final kill.
How do you win a round?
Be the last team alive. At 30:00 all beds disappear, at 36:00 Sudden Death brings ender dragons, after 46:00 the round ends in a draw.
What do I keep after a death?
Bought armor, pickaxe and axe at their tier, and the shears. Swords, blocks, bows and potions are gone.
Where are the server rules?
In the forum: server rules.
Connect to the address — then the navigator or /play → BedWars in the lobby.
play.loraplex.net